Quick Links: | Prerequisites | Access Google Drive | Create or Upload Files to Google Drive | Share With Others | Troubleshooting |
Google Drive's sharing features enable easy and simultaneous collaboration among teams. This article explains how to share files, manage permissions, and access Google Drive through Chico State's portal. It also covers features such as autosave and revision history, which help maintain file integrity and track changes.
Prerequisites
- Access to the Chico State portal.
- Access to Chico State Google Drive account.
Access Google Drive
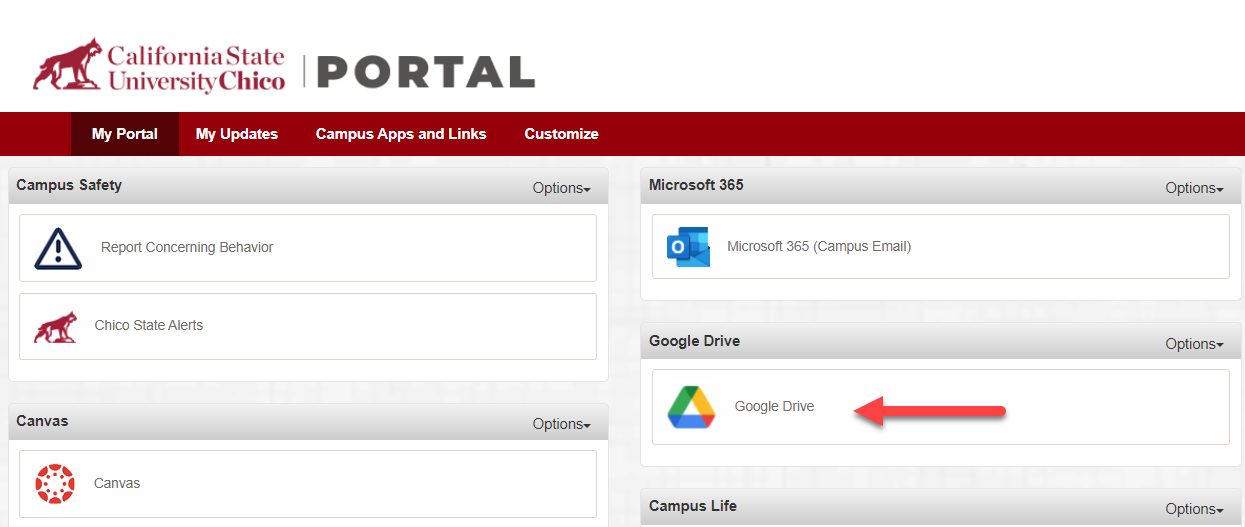
- From Canvas
- If you want to collaborate on a shared document, you can ask your instructor to enable Collaborations in your Canvas course. See What are Collaborations?
- If you want to submit something from your Google Drive to a Canvas assignment,

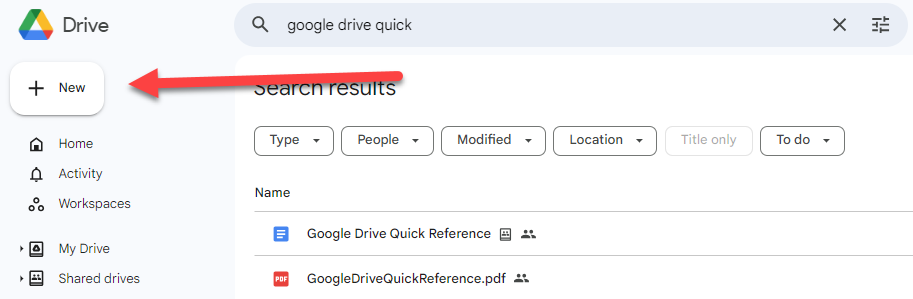
Create or Upload in Google Drive:
Once you are in your shared folder on Google Drive, you can create new documents, or upload documents to the folder. From anywhere in Google Drive, select +New to create a new document, presentation, sheet, or more.
Share Content In Google Drive
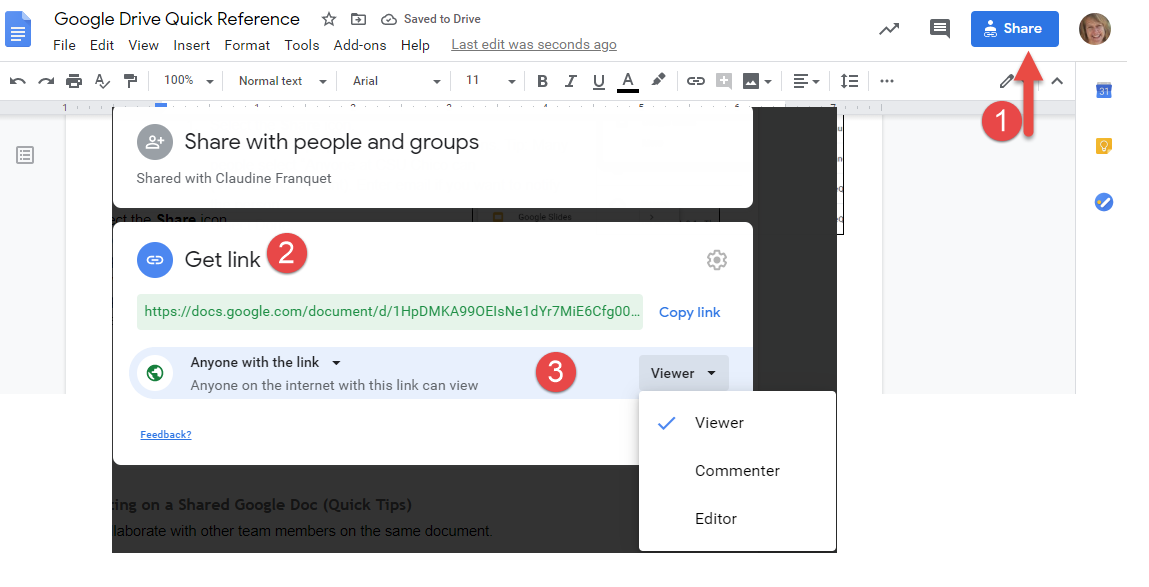
You can share your content in Google drive with other people at Chico State or with people outside the university. To share something from Google Drive, do the following:
- Select the Share icon.
- Select Get Link.
- If appropriate, share with specific people; or choose “Anyone with the Link” or “Anyone at CSU Chico” if you want to be sure that you are sharing with someone logged in through the Chico State portal.
- Copy the link and make it available (email, web link, etc).
There are two ways to open the sharing permissions menu:
- Starting at the Drive homepage, click once on the file you wish to share, then the "Share" icon (a person figure with a + next to it).
- Open the file you want to share and click the "Share" button in the top right corner.
Once the share menu appears using one of the methods above, there are two ways to share:
- Share with People and Groups: Share directly to collaborators by entering their email address(es). This will pop up with a screen to allow you to attach a message and change their permission level. You can also opt out of sending a message, however, the collaborator won't know you shared the document.
- Get link / General Access: Generate a link for the specific file to send out via email, chat, or posted on a site. Click the "Change" option under "Get Link", and you are able to generate a link as either "Restricted" (people added only) or "Anyone with the Link". You can also change permission levels for the link.
Troubleshooting
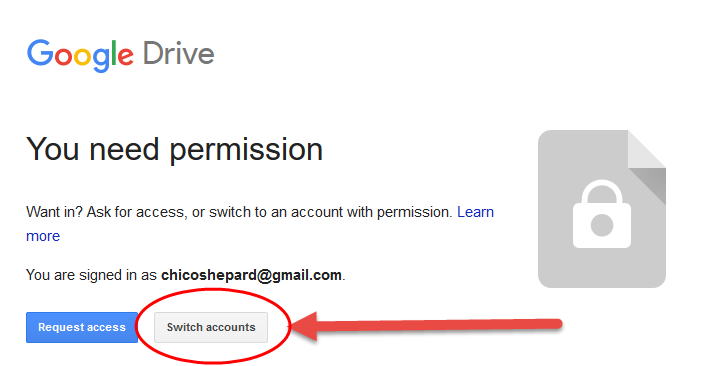
I can't access a Google document/folder someone sent to me
Ensure you are signed into Google Chrome with your Chico State account, not a personal Gmail account.
I prompted to “Sign in to continue to Google Drive?
If you access a protected Google Drive document from a direct link, you may need to sign in. Use your @csuchico.edu email address to sign in.